Coolify ships a catalog of ready-made services: WordPress, Supabase, n8n, Nextcloud, Umami and hundreds more. Each one is a Docker Compose template that Coolify fills in for you. This guide takes one from the resource picker to a custom domain.
If you have not created a server yet, start with Create your server. The full list of services is on the one-click services page.
What you will need
- A MapleDeploy server that shows as active in the dashboard.
- The name of the service you want to run.
- A domain name you control, if you want the service on your own domain.
Step 1: Open Coolify
Sign in to the MapleDeploy dashboard, open your server, and select the Coolify dashboard link.
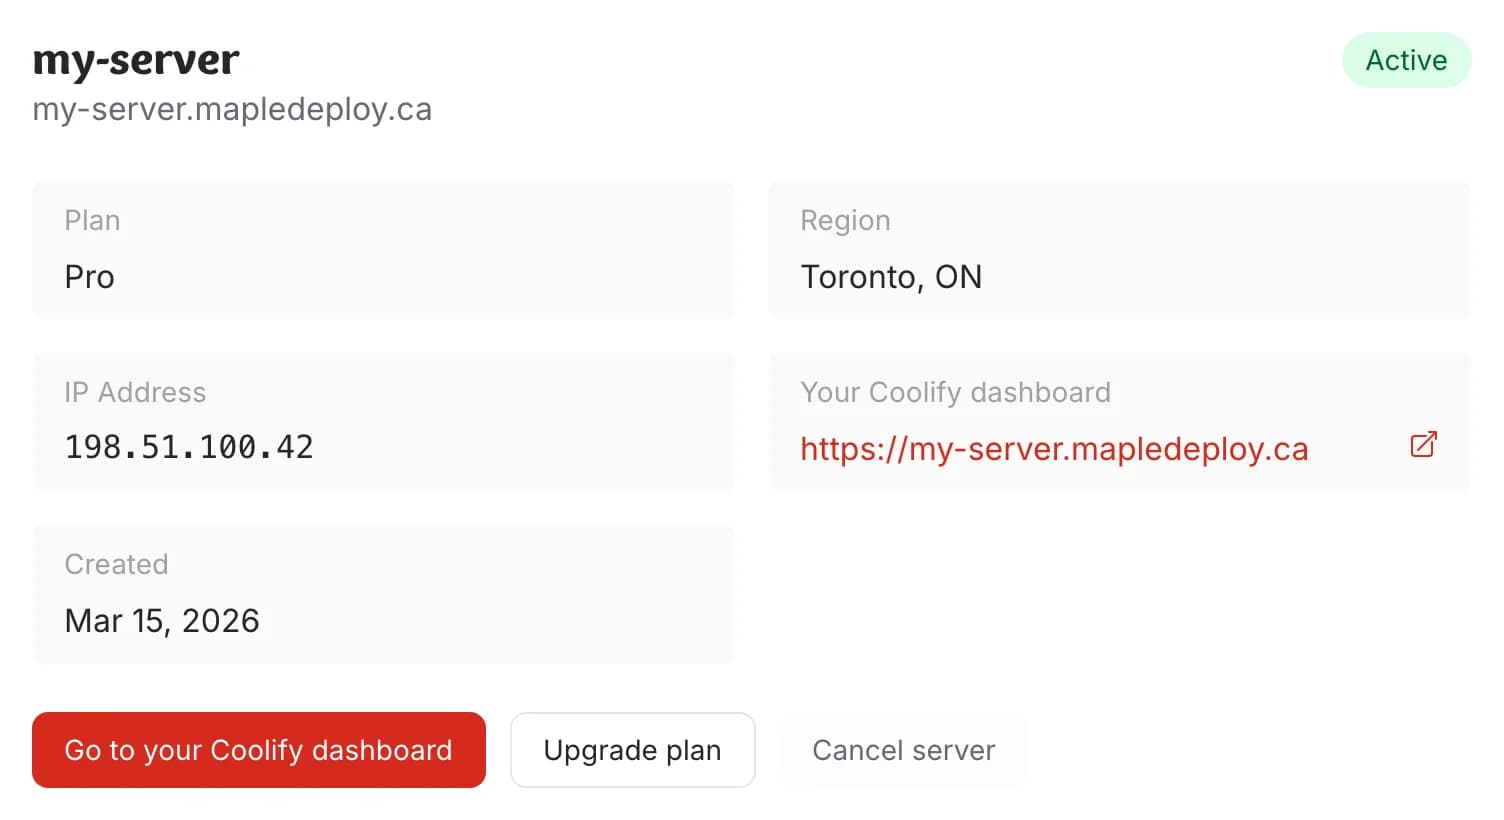
Step 2: Start a new resource
In Coolify, open a project and select New resource. Projects group related resources, so a service and the app that uses it can sit side by side.
Step 3: Find the service
The picker lists everything Coolify can deploy. Type the service name in Search resources, or set the filter to Services and pick a category. Each card shows when its template was last updated and has a link to documentation.
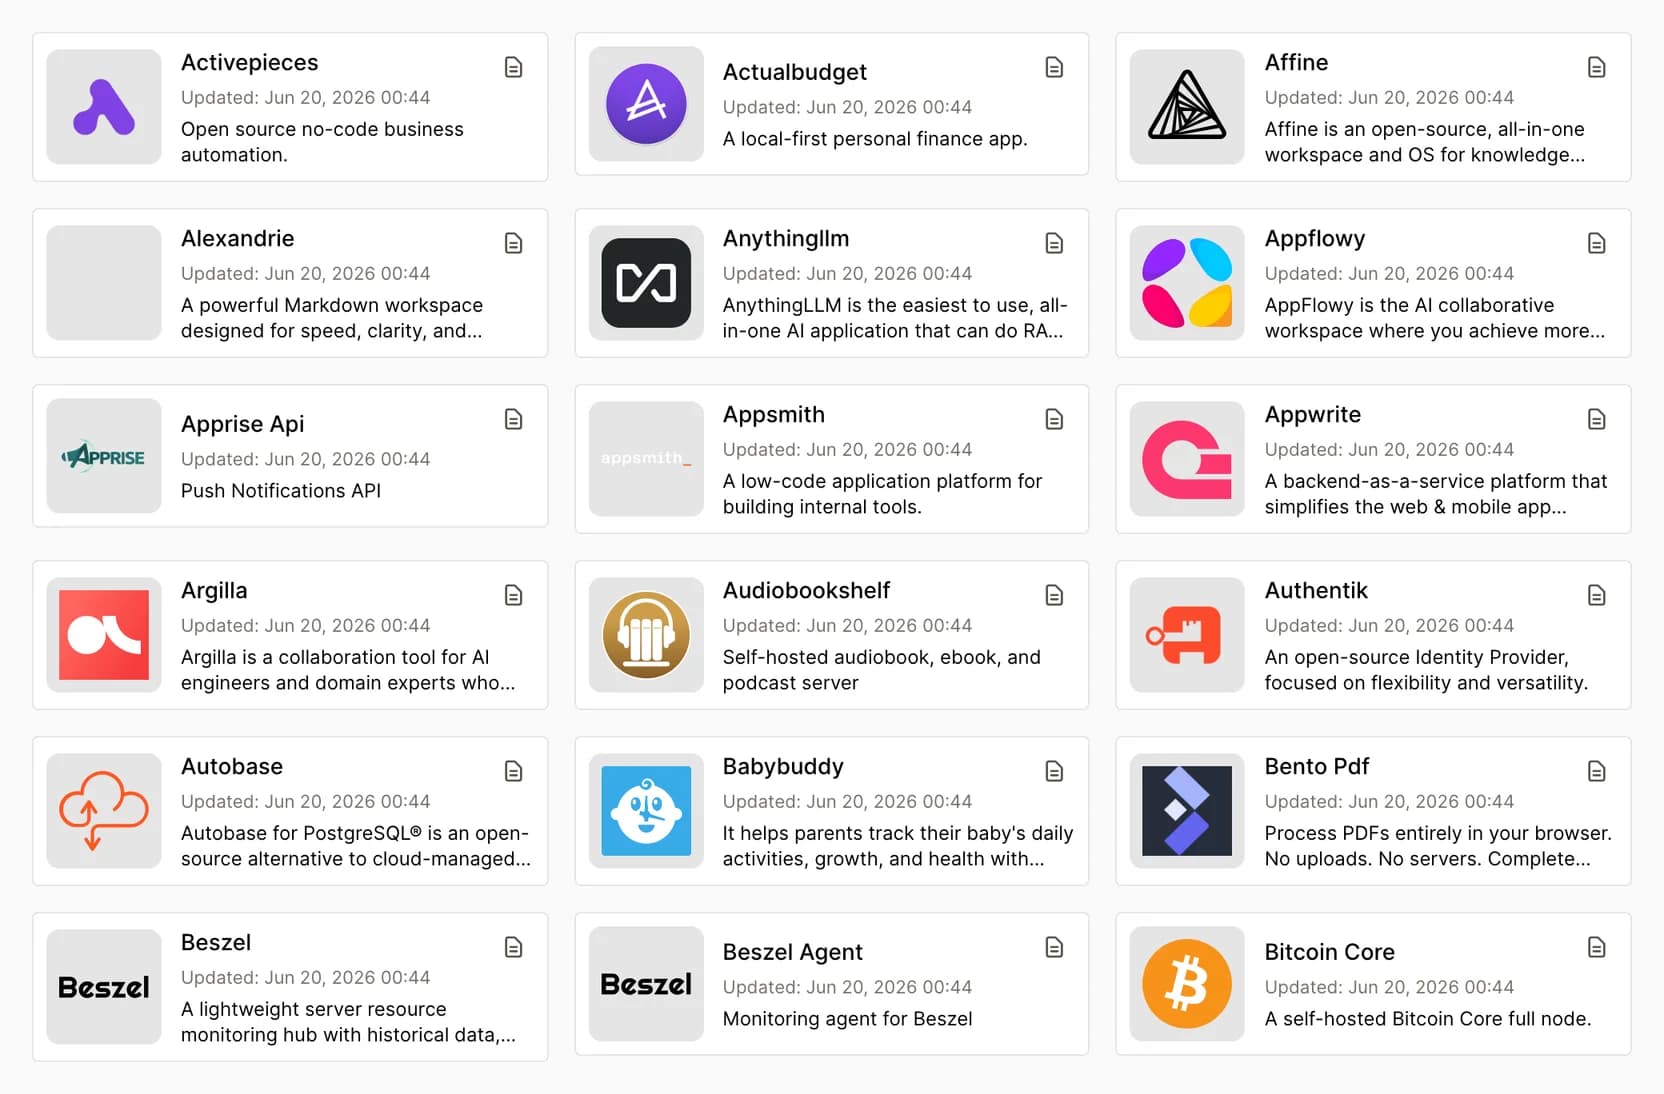
Some services come in variants, such as WordPress with MySQL and WordPress with MariaDB. They are separate templates. Pick the one with the database you want to run.
Select the card. Coolify creates the service on your server and opens its configuration page.
Step 4: Check the configuration
The service's General page shows its name and the compose resources the template will run. Two things are worth a look before you deploy:
- Environment Variables. Some templates need values only you can supply, such as an admin email or an API key. A red dot next to Environment Variables means one is missing, and Deploy stays disabled until you fill it in.
- Edit Compose file. The template is a standard Docker Compose file. You can read exactly what will run and change an image version or a setting if you need to.
Step 5: Deploy
Open the Actions menu and select Deploy. Coolify pulls the images and starts the containers. Runtime Logs shows the output while it starts.
Each web-facing part of the service gets a generated URL on your server's subdomain, so you can open it right away. Finish the service's own first-run setup there, such as creating the admin account.
Step 6: Add your domain
- At your DNS provider, create an A record that points your domain at your server IP. The custom domains guide shows the records and where to find the IP.
- In Coolify, open the service's Domains page and select Add domain.
- Choose the Service application the domain belongs to, since a template can expose more than one part. Enter the domain as a full URL such as
https://example.com, then select Save.
Coolify issues the SSL certificate once DNS resolves to your server. If the new domain does not answer, restart the service from the Actions menu so the proxy picks up the change.
Keep it running
- Backups. Service data lives in Docker volumes on your server. The service's Backups page schedules volume backups. Set one up before you store anything you cannot recreate: the weekly server snapshots included with your plan restore the whole server, not one service.
- Updates. The template sets the image the service runs. To move to a newer one, select Restart (pull latest) in the Actions menu, or change the version in the Compose file and deploy again. MapleDeploy keeps the server and Coolify up to date; the services on it are yours to update.
- Resources. A service shares your server's RAM, CPU and storage with everything else on it. Check a service's own requirements against your plan before you add a heavy one.
Troubleshooting
Deploy is disabled: open Environment Variables and fill in the required values.
The URL shows a proxy error or times out: the service is still starting. Watch Runtime Logs; some services take a few minutes on their first start.
The domain has no certificate: DNS must resolve to your server before Coolify can issue one. Confirm the A record, then restart the service.